We renovated our kitchen and changed how our kitchen looks using Aspect Metal peel and stick tiles. This DIY project was very exciting as it changed the whole look of our kitchen giving it a sleek, sophisticated, modern and a clean feel that we really like. My husband did all the work on his own and completed the project within a couple of days during the weekend. The project would have been completed sooner, however because of time limitations he did the project a little bit at a time.
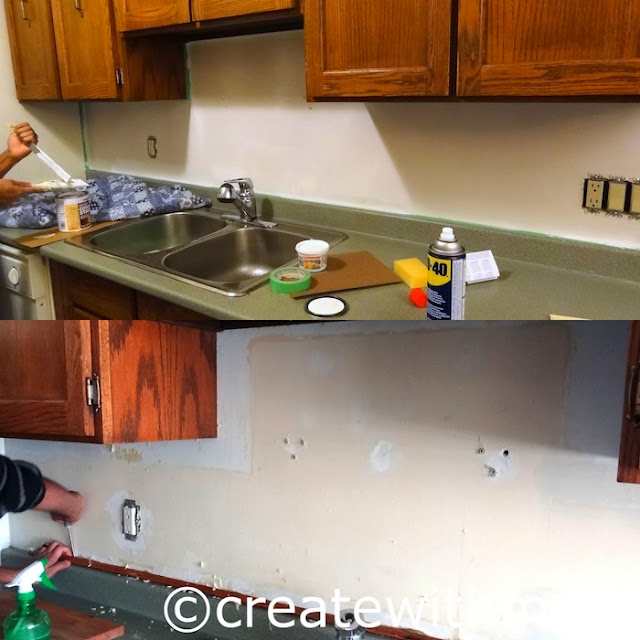
We had wallpaper prior to doing this project and had a few prep work to do. He removed the wallpaper, cleaned it up, fixed up the wall, primed it with an oil based primer and left it to completely dry before starting to paste the tiles. The instruction that came with the tiles said that it would work well only on flat, primed, smooth walls so we wanted to make sure the wall was perfectly ready :) We read the instructions very carefully twice before starting and I highly recommend this. The video on this site is also very helpful to watch before starting the project.
The instructions on the tile box has a list of tools we may need.
We used...
hacksaw for the large pieces
chisel for small pieces
sandpaper to smoothen the sharp cuts
utility knife
pencil, paper, cloth, primer, brush
adhesive glue
drill (only needed if want to put any shelves or screws for hanging purposes)
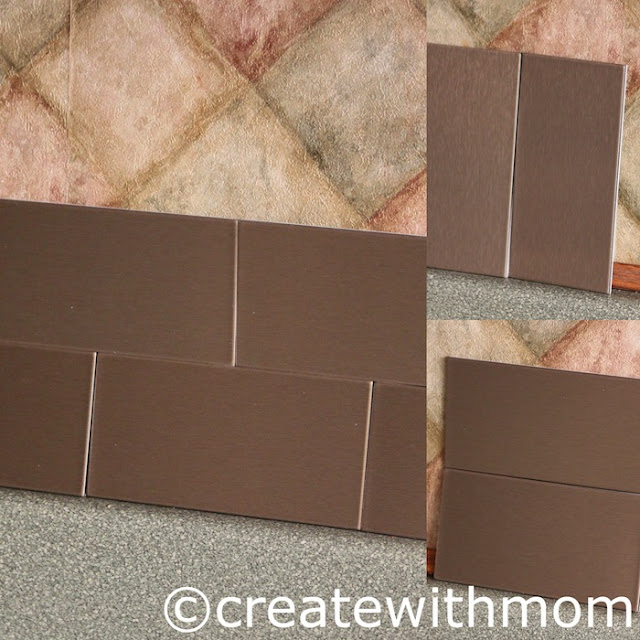
Before sticking the tiles we measured, then measured again and decided that the subway pattern was most suitable for us. There were lots of design ideas online as well as on the instruction sheet, which was helpful.
My husband drew the middle line before pasting the tiles starting from the centre and out. He also did the bottom row close to the counter to make sure the tiles will be aligned correctly.
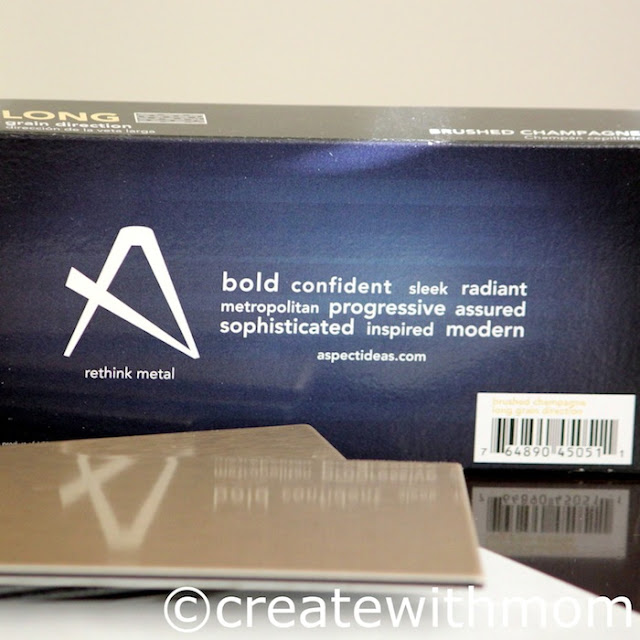
We chose the long grain, brushed champagne tiles. Each box has 8 tiles that are 3"x6", and to cover our area we needed 12 boxes.
When doing this projects we encourage and recommend that...
- You measure everything twice :)
- When cutting think about the grain because if the grains are not in the same direction it will look different depending on the lighting and angle; unless you want the different shades as part of your decor
- Use glue adhesive to stick the tiles it is better in the long run
- Remove the film on the front just before placing so the tiles don't get any scratches
- Throw away the front and back peel immediately to avoid slipping on these
- Start from the centre so the pattern will flow and look good
- We wanted to put a shelf so we had to make holes into the tiles so we drew the location of the holes first on a piece of paper then made the points on the tile and carefully drilled it
- After cutting don't skip on sanding the edges
- We can use a clear or coloured caulk to seal around the bottom and edges
- Get matching switch plates, this is something we forgot and had to hurry to Home Depot :) and found decor wall plates from Atron. The Aspect tiles site recommends outlet covers from Wall Plate Warehouse.
There are lots of pros in using these Aspect Metal tiles:
- The look is fabulous and gives the space a contemparary feel.
- Instantly adds a whole new beautiful look, which also adds value to the space.
- A modern look with the metal for an affordable price and a fraction of the cost compared to using real tiles.
- We can do it ourself and not have to pay contractors and experts.
- Easy to maintain and clean by simply wiping it with a soft cloth.
- The tiles are eco-friendly as it made with 50% recycled materials and the tiles are 100% recyclable
- There is a good choice of colour we can choose from; brushed champagne, stainless, copper and bronze.
- There are two types of grains we can choose from long or short grain.
- Once the project is complete we will feel really good :)
My husband really enjoyed the whole process and he says he liked how he felt when every tile was placed :) which is good news for me as I can think of other projects to do. My children and family/friends who came said how good it looks. My four year old suggests that we decorate the entire living room with these tiles :)
These tiles are available online and at home hardware stores such as Home Depot. Aspect metal tiles will look good as backsplash, in small areas of the wall to add accent, in cabinets and to put detail around fireplace etc. We really enjoyed the process of doing this project and are enjoying how good the kitchen looks now. If you are thinking of doing something to spice up your kitchen or other areas around the home think metal and choose these tiles from Aspect ideas.
All rights reserved on photographs and written content Createwithmom © 2012. Please Ask First
Updated September 3, 2015 In Reply to a question from a reader (Thank you Stacey):
Was curious how they have held up. More info about the additional glue you used would also be interesting. Did you take the foam backer off first?
Answer
The Aspect tiles are holding up great since we placed them in 2012. We did a kitchen renovation (Cabinet transformation) and decided to keep the aspect tiles because it still looks new. We did not remove the foam backing as it is not supposed to be removed just the peel from the sticker was removed before each tile was pasted. There is a film protecting the tiles which was removed after the tiles were installed. The glue that was on the peel off wasn't as strong (the items in 2012), so I used the "Weldbond" universal adhesive that can be found at Homedepot or Lowes, you could use any construction adhesive. I primed the wall before installation so the tiles stuck firm.
Also another tip, if you need to cut the tile its best to use a utility knife and keep scoring it and then snap off.


